The Complete Care And Maintenance Guide For Tile & Grout Shower Stalls
I don’t know about you, but I’m pretty particular about where I take my showers. For example, the first thing I do when checking into a hotel is inspect the shower. If it’s all mouldy and gross, ya, we’re changing rooms. If it’s okay, then I move on to inspect the draperies, bed sheets and carpets. If everything checks out, we can go ahead and bring the bags into the room.
So if you’re anything like me, even a little bit, you want to keep your shower looking clean and healthy and you probably don’t want to spend hours every week doing it either.
Look, it’s the one place in your home that takes a beating every day, and cleaning tile & grout shower stalls is no easy task, so it naturally it often gets neglected. Even kitchen countertop surfaces get a break once in a while, but the shower, never.
So to keep on top of it, it’s important to know and to remember a few things about shower stalls. First of all, it’s important to note that there are many different surfaces that need attention in a typical tile & grout shower stall, all made from many different materials.
Consider The Various Materials and Surfaces To Clean in a Tile & Grout Shower Stall
There are the tiles of course, which could be made from either ceramic or porcelain. There’s the grout, which could be cementitious grout, or modified cementitious grout with an latex/acrylic additive, it could be sanded or non-sanded, it might be epoxy grout, or urethane grout, or some other type. Maybe the grout was sealed, maybe not. Maybe it was sealed, but not properly. Grout in shower stalls should be sealed for the best long-term performance.
There’s caulking at the joints, which may be an acrylic polymer or silicone, or a siliconized acrylic caulk, either sanded or non-sanded, or something else. Maybe it was treated with an anti-microbial, maybe not.
There are glass surfaces, various metal or chromed surfaces, plastic soap dishes, rubber door sweeps, and maybe you have an acrylic or fiberglass floor.
Lots of different surfaces each with their own cleaning challenges so of course there is no one product or process that will clean them all equally effectively. Yes, I’m preparing your for the long-ish list of tile & grout shower cleaning tools and products I’m going to recommend.
Tools and supplies you need for shower stall maintenance
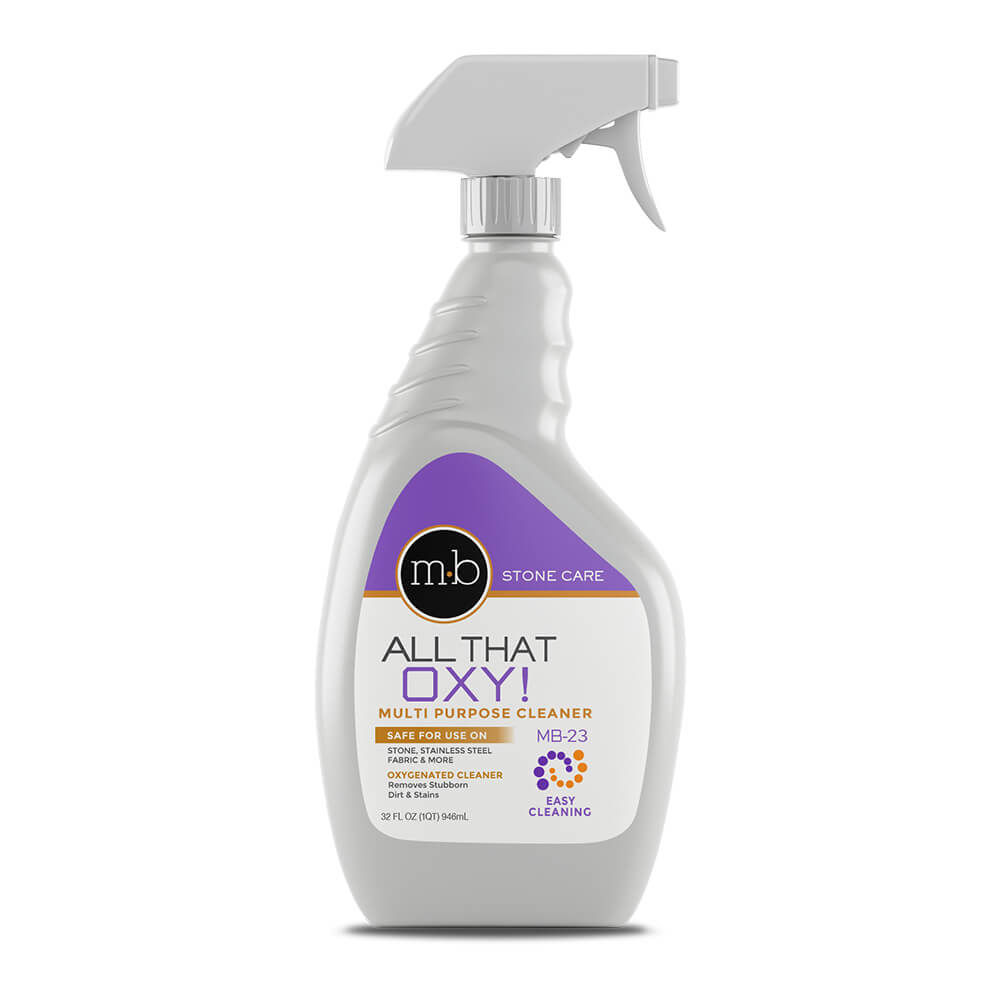
- All That Oxy
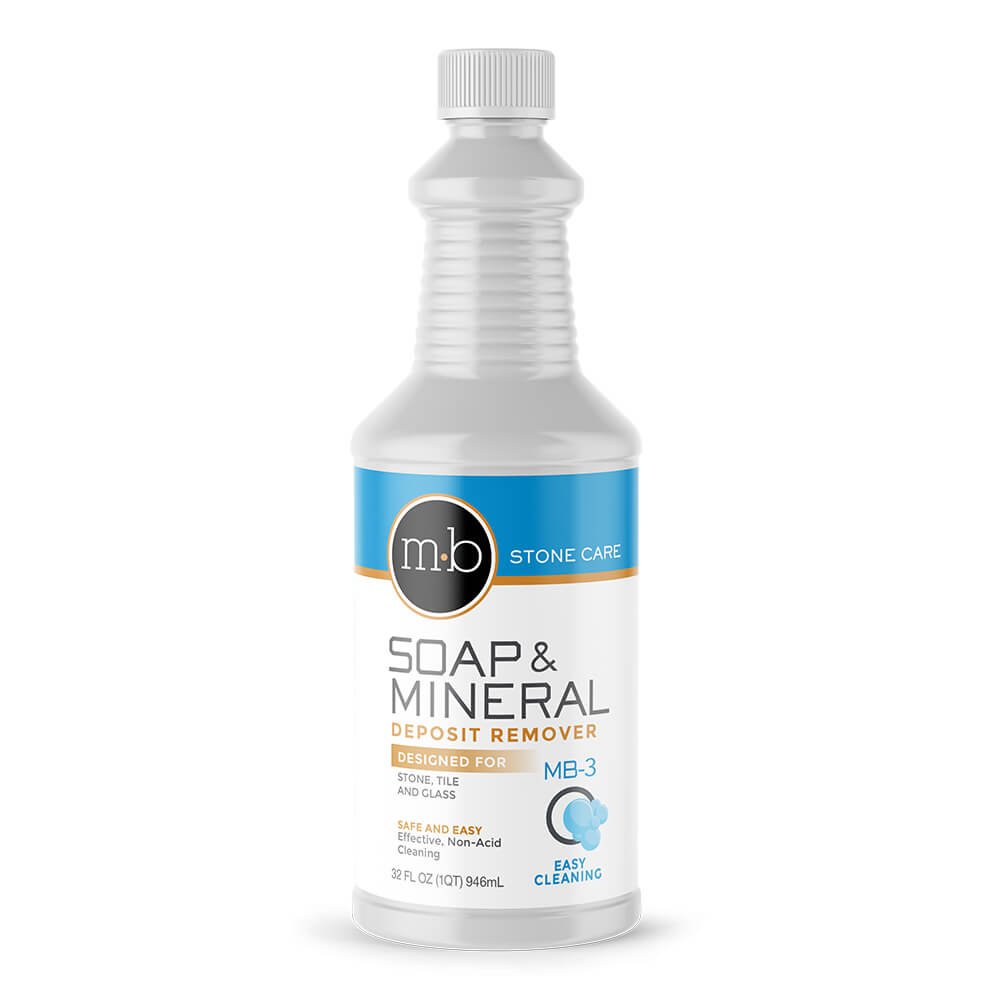
- MB-3 Soap Film Remover
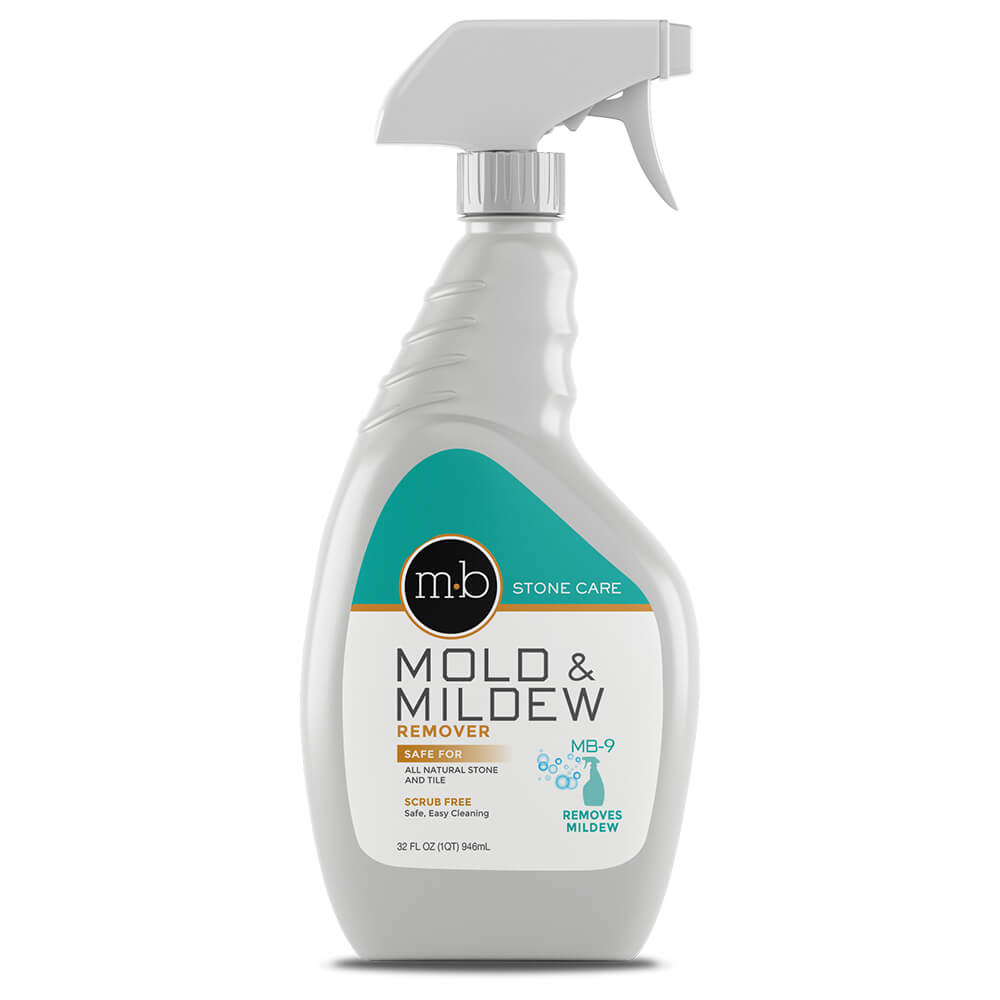
- MB-9 Mould and Mildew Remover
- Stone Pro’s Stone Scrub
- MB-24 Stone Sealer (for sealing grout)
- Wipe n’ Seal Sealer Kit For Glass
- Microfiber towels
- Nylon Grout Brush
- Squeegee
- Large Sponge
- 3M Scotch-Brite Scrub Sponges
- Appropriate Safety Gear – rubber gloves, respirator, eye protection, knee pads


We recommend all the tile & stone care products from mB stone care.
Several Different Shower Stall Contaminates We’re Dealing With
There is also more than one contaminate to deal with in a shower setting, it’s not just “regular dirt”. There is the soap film that builds up, there’s mould and mildew, and of course bacteria that all grow in there. Plus all the organic material that we tend to shed, hair and skin cells… other stuff…
You know that pink or orange slimy film that shows up in the nooks and crannies of your shower stall? You’ll find the same stains in your toilet bowl and if you don’t clean your pets water dish, it’ll turn up there too.
That’s an airbourne bacteria known as Serratia Marcescens. Yes, airbourne, ubiquitous even, that’s why when you clean it off, it comes back within a few weeks. It thrives on the soap and shampoo residues left behind on the surfaces after we shower.
Basically there’s no eliminating it completely, we just need to keep on top of it as part of our regular maintenance. While it’s not particularly dangerous for most people, it is a human pathogen and has been known to cause pneumonia, wound infections, and urinary tract infections in hospital settings so treat it with the respect it deserves.
Then there’s the dark mould that grows on the caulking and in porous grout lines. While any type of mould has the potential to cause health problems, especially if your allergic to mould, according to the Centers for Disease Control and Prevention, most mould found in showers is not Stachybotrys, the dreaded toxic black mould we all hear so much about. Regardless of the type of mould you have, the advice is the same – get rid of it.
There are other factors that affect shower maintenance such as ventilation and usage habits that will determine how quickly contaminants build up and the type and frequency of maintenance that will be required.
Tile & Grout Shower Maintenance Overview
While showering, the water we use suspends soap residues and other particulates and deposits them on the various surfaces. The grout is absorbent so the water absorbs into the grout below the surface and carries these contaminants below the surface too. Once the water dries, the soap residues are left behind.
Over time they build up to form a waxy coating on the shower walls, glass and hardware and is very difficult to remove with traditional cleaners. Bar soap leaves even more residues behind than liquid soap.
When you use bar soap in your tile shower you are basically converting a solid to a liquid during your scrub down and then, when the water evaporates, it converts back to a solid on your shower walls. I know some people just love their bar soaps, which is totally understandable, I’m not trying to convert you, but just know that using bar soap will definitely hasten the need for our professional shower cleaning services.
After each shower, it’s good practice to squeegee the walls and glass. This will slow the occurrence of those nasty water stains so quickly and will save you money by reducing the frequency of professional shower cleaning services.
If soap film is allowed to build up and get out of hand, an acidic tile and grout cleaner or a special soap film remover will be necessary to remove it.
CAUTION: Do not use acidic cleaners on natural stone surfaces. For marble or natural stones you will need a professional grade non-acidic soap film remover made specifically for natural stones.
For most ceramic and porcelain tile showers you can use an aggressive scrub pad for the tiles and a nylon grout brush for the grout to remove the soap film. For natural stone tiles or any surface that is not scratch resistant, use a less aggressive softer scrub pad or microfiber cloth.
Travertine Shower Stalls
Filling Holes. We highly recommend hiring a professional service for this part, but if you’re extra handy, theoretically you can do it yourself. Travertine is a natural stone material that is full of holes and from factory these holes are filled with an epoxy resin. Over time this fill material can become dislodged and fall out requiring the holes to be filled again.
First, clean the holes out with a nylon toothbrush or rag and a solvent or cleaner. Mix up some "Traverfill" as directed on the label then, using a plastic putty knife, apply the filler to the surface and press it into the holes. Scrape off the excess a few times to ensure the hole is completely full. On the last scrape, leave the fill slightly above the surface. Allow to dry and then scrape the raised portion with a razor blade bringing the filler flush and level with the tiles surface. Remove any remaining residues with acetone and a rag.
Closely Inspect and Evaluate Surfaces Regularly
- Inspect grout for wear and damage. Check all grout closely, especially in areas exposed to flowing water. If there are cracks, or broken and missing areas of grout, stop using the shower and repair it to avoid water damage. Allow repaired grout to cure for at least three days before putting the shower back in service. Read the directions on the box though, some grouts require you to wait 10 days.
- Inspect surfaces for water absorption. After use, look closely at the grout surface and compare wet areas to dry areas. If the grout darkens when wet, it’s absorbing water. It’s probably time to thoroughly clean the grout with an acidic grout cleaner and re-apply a premium quality grout sealer. If you have marble or natural stone tiles, inspect them as well for absorption and include them in the clean and re-seal process. Remember, acid grout cleaners should not be used on natural stone surfaces, use MB-3 and a neutral stone cleaner to prepare the surface for the sealer. After cleaning, it is best to allow surfaces to dry completely before applying sealer. Then allow the sealer to cure for a minimum of 48 hours before putting the shower back in service.
- Inspect for mould, mildew, and bacteria growth. Depending on use and other factors, some showers may need more frequent mould treatment, however most showers need to be treated with MB-9 or a diluted bleach solution every three to six months to keep your shower mould-free.
- Inspect the caulking at all change of plane joints. Stained caulking cannot be cleaned effectively so once it starts to develop mould stains it should be cut out and replaced. High quality 100% silicone caulking treated with an anti-microbial should last on average five years or more.
Here’s our recommended tile & grout shower maintenance schedule:
Daily After Each Use and Preventative Care
- Ideally use only liquid soaps without added colouring, no bar soaps. Do not use hair dye, spray tanning products, or similar chemicals in the shower.
- Squeegee walls and glass after each use and/or dry all surfaces with towels. Dry the corners and ledges where water tends to puddle. Avoid storing your products on ledges or the floor.
- Leave the shower door open and the exhaust fan running for at least 30 minutes after use.
Weekly Cleaning
- Spray all surfaces generously (tiles grout glass and hardware) with a high quality surface cleaner such as All That Oxy and wipe thoroughly with a microfiber cloth. Rinse with fresh water. A hose attachment on your shower head is perfect for this, otherwise a large wet sponge will work as well.
- Mineral deposits can be removed using a soft abrasive type cleanser such as Stone Pro Stone Scrub. Stone Scrub residue can then be rinsed off with All That Oxy then rinsed again with fresh water.
- Use MB-3 if necessary on soap dishes and other horizontal surfaces where soap film can build up.
- All That Oxy works great on glass and metal surfaces too. If your glass was treated with Wipe N Seal glass sealer you should not have any difficult mineral deposits to remove, however if necessary, mineral deposits can be removed with Stone Pro’s Stone Scrub. Stone Scrub is an abrasive cleaner and can scratch polished surfaces, use with caution. Stone Scrub residue is then removed with All That Oxy.
Every Six Months or so
- Generously apply MB-3 to all surfaces, allow sufficient dwell time to allow product to work, and scrub with microfiber cloth or scrub pad to ensure that all soap film build up is removed. Use nylon grout brush to agitate grout lines thoroughly. Rinse thoroughly using the hose attachment on your shower head or large sponge. If you have switched to liquid soap and have been squeegeeing the walls after each use, this step may be unnecessary.
- Apply a generous amount of MB-9 to all surfaces to kill and remove any living mould or mildew or bacteria. Allow 10-15 minutes dwell time, wipe with a microfiber cloth, and rinse again. If you have been using All That Oxy on your weekly cleaning, this step may be unnecessary.
Call us today 604-565-7494 to get a free quote, or book an appointment on-line!

